
This post may contain affiliate links. If you use these links to buy something we may earn a commission. Thanks.
Growing your own mushrooms costs less than buying them at the store. So what will it take to actually do it? Mushrooms can be cultivated in multiple ways. Some methods are less costly than others.
The minimum start-up cost to grow mushrooms is $30. Indoor grow-ops cost more for equipment and monitoring, and outdoor methods are low-cost and relatively passive. Substrate and spores will be part of the ongoing operating costs in every scenario.
Depending on the method of mushroom cultivation you choose; $30 can yield 2-20lbs of mushrooms (or less, as you gain experience!)
In this article, the ‘average Joe’ looking to grow and eat some delicious mushrooms on a regular basis (or scale up to a small business) will learn:
- What it costs to grow mushrooms using 4 different growing methods:
- Kits (indoor)
- DIY spawn (indoor)
- Mushroom beds (outdoor)
- Mushroom logs (outdoor)
- The details of four regular people’s indoor mushroom grow ops (some are simple setups and some have a bit more tech)
- Plus what they could do to reduce costs on their setups
- The cost of our personal outdoor mushroom bed and mushroom log setups
- And 11 strategies to reduce costs!
By the end of the article, you’ll be calibrated with realistic expectations—leaving you confident to choose a way forward.
Related: Save Money & Grow Vegetables That Cost You the Most
Should you grow mushrooms indoors?
It depends on what environment you have and when you want mushrooms for harvest.
The advantage of growing mushrooms with indoor control is the ability to grow any type at any time of year. The equipment needed can be multipurpose and the quality of homegrown indoor mushrooms is priceless.
Those who want fresh mushrooms year-round and are willing to invest in needed equipment should grow mushrooms indoors. Taste test mushroom strains that interest you by starting with an easy grow kit or fruiting block.
For a taste test, you can still use QUALITYSPAWN for a discount on the available grow kits and fruiting blocks.
Once you know which mushrooms you’d like to grow indoors, invest in the needed equipment for that species. Some species need more or less equipment depending on how aggressive, or not, they are.
Easy mushrooms are often prolific and give you the most bang for your buck, time, and space!
See: Most profitable (edible and medicinal) mushrooms to grow
Starting simple, learning, and gradually expanding is usually best for beginners looking to scale up into a small business.
How much does it cost to grow mushrooms from kits?
Ready-to-fruit kits are the most expensive way to make mushrooms because everything is done for you except the last step.
It costs $30 on average to purchase mushroom grow kits that are ready to fruit when they arrive. Most companies will guarantee you a dinner’s worth of mushrooms from the kit but hope you will get 2-3 flushes.

This article was originally published on foodforestliving.cm. If it is now published on any other site, it was done without permission from the copyright owner.
In our experience, growing mushroom kits is worth it for tasting new mushroom types before committing, but not the most economical option for growing—since the work is done for you!
With mushroom kits, you can also inoculate new substrate with the spent medium with an indoor bin or an outdoor bed. Reusing a spent kit does make it worth what it is because it’s pretty easy to do.
We have also successfully smeared spent medium from an oyster mushroom kit into crevasses of a large log on our property and harvested fruit. So while mushroom kits are the pricey way to go, they do have potential beyond the bag.
I recommend mushroom kits for people who have never grown mushrooms before to experience the fruiting process, do some experimentation, and taste the mushroom fresh for the first time!
Current North Spore coupon code for kits, accessories, and more: QUALITYSPAWN

How much does it cost to make spawn to grow mushrooms?
I asked a group of everyday regular people who grow mushrooms indoors; what equipment they use, how they use it, and what it costs. Then, I researched and found a way to drastically cut costs on spores for ongoing production.
On average, It costs $350 USD for a basic setup including; equipment, a stock substrate, and liquid culture syringes to grow mushrooms indoors. To continue growing mushrooms, you only need to buy or produce new substrate material and liquid cultures.
Growing mushrooms in bins is a popular method that anyone with a small space could manage. This method can be scaled into a grow room for a small business operation or kept on a small shelf for personal use.
An indoor tent kit is the most straightforward setup if you’re worried about making a mess and not knowing what you’re doing. Since it’s well under budget and discounted with QUALITYSPAWN at checkout; you’ll afford plenty of substrates and spawn for getting a head start.
Below is the breakdown of three different home growers’ experiences.
Indoor mushroom grower #1
Alice spent around $300 for her basic setup.
This is her list of equipment:
- Shelf greenhouse $45
- Instant pot $80
- Coco coir $27
- ISO Alcohol $10
- Grain $10-20
- Liquid culture spores $10-20
- Bins $10 each at a local store
Coco coir bricks are an easy substrate to use because they arrive sterilized.
- First, she pressure cooks the grains (in the bag they are packed in) for 45 mins at 15psi
- Then inoculates that bag with 2mLs of syringe liquid culture and tapes the hole
- Over a week the mycelium takes over the whole bag of grain
- When the grain is ready, she puts a layer of coco coir at the bottom of a bin, a layer of inoculated grains, and more coco coir, and then secures the lid on the bin
- Lastly, she waits for fruit!
After many experiments, she found this way has produced the highest yields.
On average Alice’s process costs $22 to yield 2-6lbs of mushrooms. Alice does not grow her liquid culture. She buys pre-bagged 1lb bags of organic grain that come in a special bag with an injection port.
To cut costs on her process, she could:
- grow more liquid culture from a syringe
- buy organic grain from bulk stores at a cheaper price
- reuse a glass jar with a DIY injection port lid
Scaling up can cut costs on syringes—the more you buy at once the cheaper they are typically sold. Then you can grow them with sugar water. The substrate can be bought dry, in bulk, and stored for a long time for any scale of cultivation.
Indoor mushroom grower #2
Austin shared his whole grow-bag environment setup and cost breakdown. He mentioned that you could easily spend less by keeping it basic. However, his detailed equipment list reveals a lot about the environmental parameters indoor mushroom growers need to consider.
For his tent:
- A small AC infinity grow tent $100-$160
- Wire shelf $60
- Plastic tarp for under the tent $5
For a DIY humidifier:
- House of Hydro 1 disk bubbler $30
- House of Hydro 80mm fan $35
- 5-gallon bucket $5
- Inkbird temperature humidity switch $72
- UV sterilizer $20
- PVC pipe and fittings $10
Lighting:
- Wyze smart plug timer $10
- Waterproof light mount and bulbs $30
Exhaust & Air exchange:
- AC Infinity 120mm fan $20
- Ducting $10
- Inkbird Co2 switch $160 (he says is optional!)
- A window mount for exhaust $10
Sterilization:
- Presto 23q pressure cooker $150
- DIY still air box $5
Totaling nearly $800.
On top of all the environment-control equipment, you’ll also need your grains, sawdust, bran, cultures, malt, grow bags, and jars where applicable.
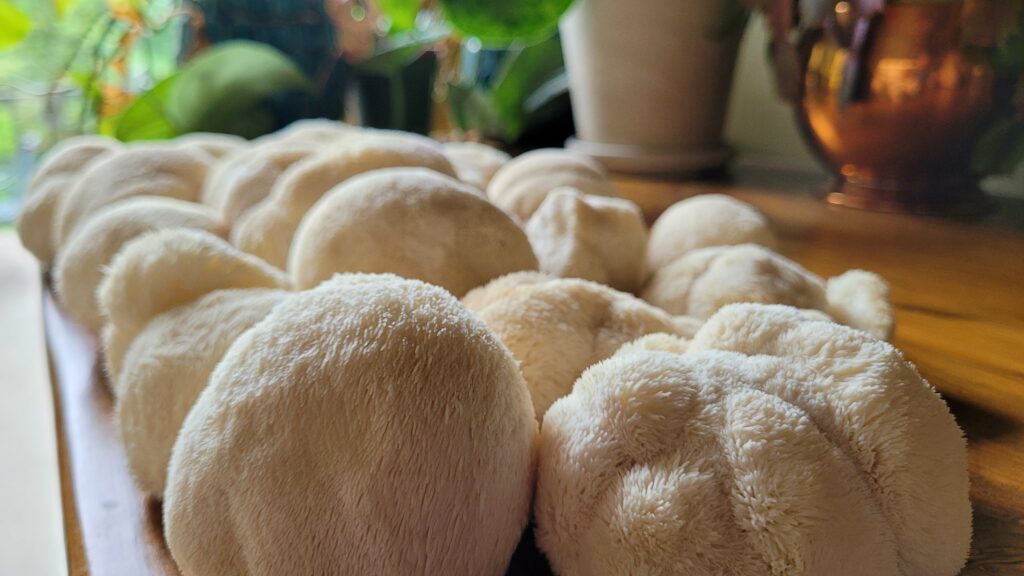
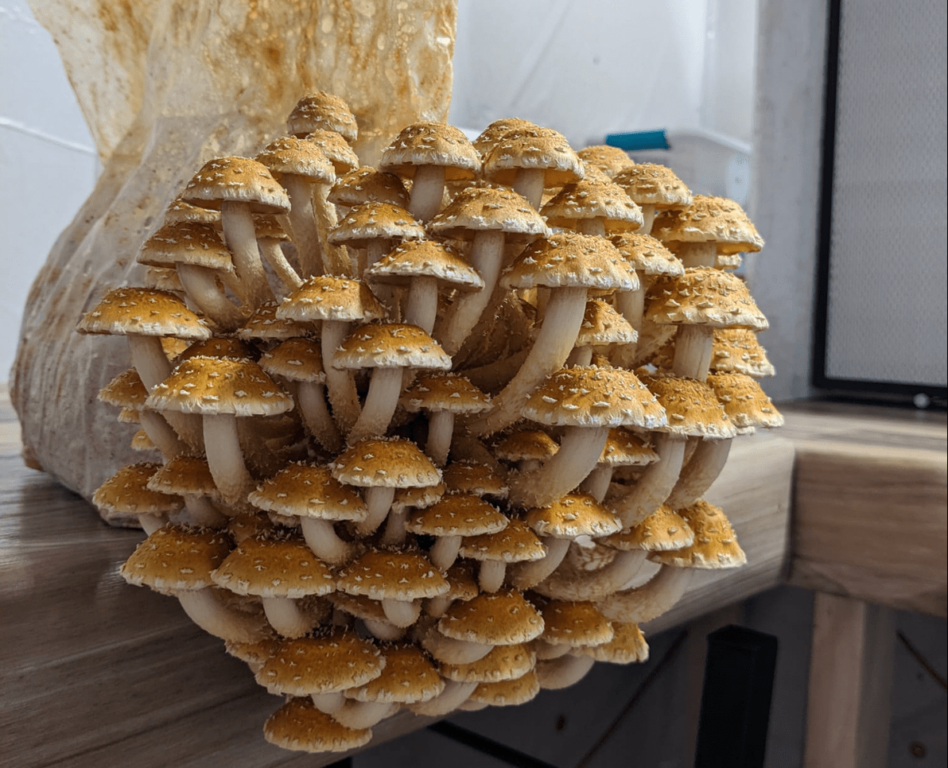
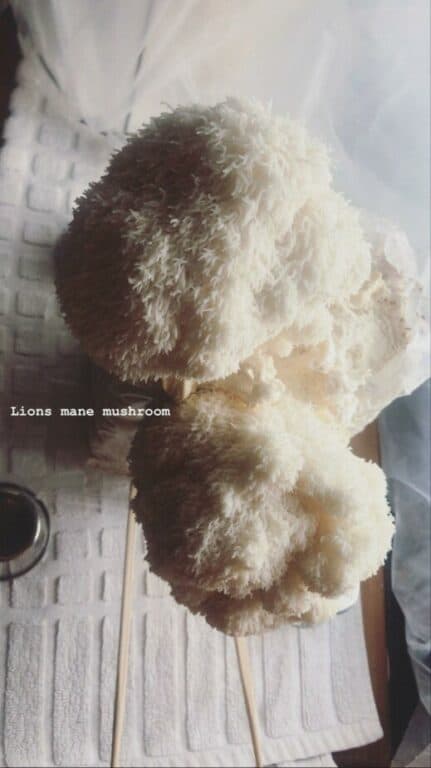
The substrate will depend on your mushroom of choice. He uses all substrates listed and grows blue, pink, yellow, pearl, king oyster mushrooms, lion’s mane, bear’s head, reishi, turkey tail, and shiitake mushrooms.
I asked Austin; if one could spend less, why did you get all the extras? What is the benefit of the extra tech?
“Good question, partly just because I nerd out on building things like this. I didn’t buy it all at once, I slowly bought components over the course of a couple months. But the benefits would be “set it and forget it”, without daily maintenance. I can rely on consistent humidity and air exchange for days or weeks without even checking on it, except maybe filling my water reservoir. Consistent humidity and air exchange equals beautiful, well developed mushrooms.”
Indoor mushroom grower #3
Andrew grows magical kinds of mushrooms and explains his process from A to B. You can, however, grow non-magical gourmet species with the same process, a different substrate.

- Buy popcorn kernels (regular unsalted-not microwave)
- Boil popcorn for 1-1.5 hours.
- Drain popcorn
- Fill mason jars 2/3 full of popcorn, leaving maybe an inch of headroom at the top
- Put modified mason jar lids on jars (you can make these or buy them pre-made)
- Cover lids with aluminum foil with a rubber band (keeps steam/excess moisture out of jars)
- Pressure cook jars of popcorn at 15psi for 1.5 hours
- Let jars cool overnight
- Inoculate jars with spores/liquid culture by injecting them into the injection port on modified lid.
- Wait for mycelium to fully colonize jars (usually 4-6 weeks)
- Transfer grain spawn (colonized popcorn) to bulk substrate (coco coir) in a sterilized tub
- Wait 2-3 weeks until mycelium has colonized the substrate
- Introduce “fruiting conditions” (crack open tub lid just a bit to allow air circulation)
- Mist lightly with water a couple of times daily to maintain humidity
- 7-10 days after introducing fruiting conditions, pins (baby mushrooms) should appear. Let them grow until mature (3-5 more days), then harvest.
Andrew says his setup is worth about $200.
He does a 1:1 ratio of substrate to grain spawn but can get away with a bit more substrate if needed—it just takes a bit longer to fully colonize.
To grow lion’s mane mushroom this way; use sawdust instead of coco coir.
“Oh, a good way to avoid contamination is to add a tiny bit of “hydrated lime”(can get it at Home Depot or a plant nursery) to all water used to boil grains or pasteurize substrate. Get some ph strips—you want the water to be ph 9.5. Trichoderma and other molds don’t grow well at high ph, but mushrooms like it just fine. Don’t use “garden lime” though, it has high magnesium content which will stunt your mushroom growth. Or you can buy expensive “alkaline water” from the store, but it’s the same thing, and you can make 1000 gallons for the price of one store-bought gallon if you make your own. . . And that, my friend, is how you grow mushrooms.
Indoor mushroom grower #4
Shaun managed an extremely low-cost semi-DIY setup of $31 “Call me cheap but it’s working” he spouts.
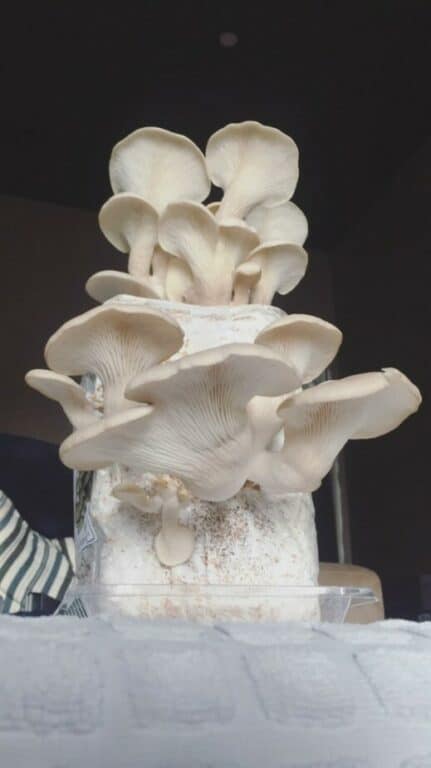
“This is for my first grow of oyster mushrooms;”
- Liquid culture syringe (from eBay for $8)
- 5 pouches of Aldi whole grain rice or Uncle Ben`s “tek”
- Lime-soaked straw substrate method
- Bags
- Micropore tape to make DIY substrate bags
- A small PVC greenhouse
I asked if he skips substrate sterilization and he said that “soaking the straw in lime water sorts out the bacteria.”
So if you don’t want a pressure cooker appliance, perhaps Austin’s and Shaun’s advice about the lime water is the way to go.
Should you grow mushrooms outdoors?
Growing outdoors is our favorite way to go—with a humid environment, it can be quite passive.
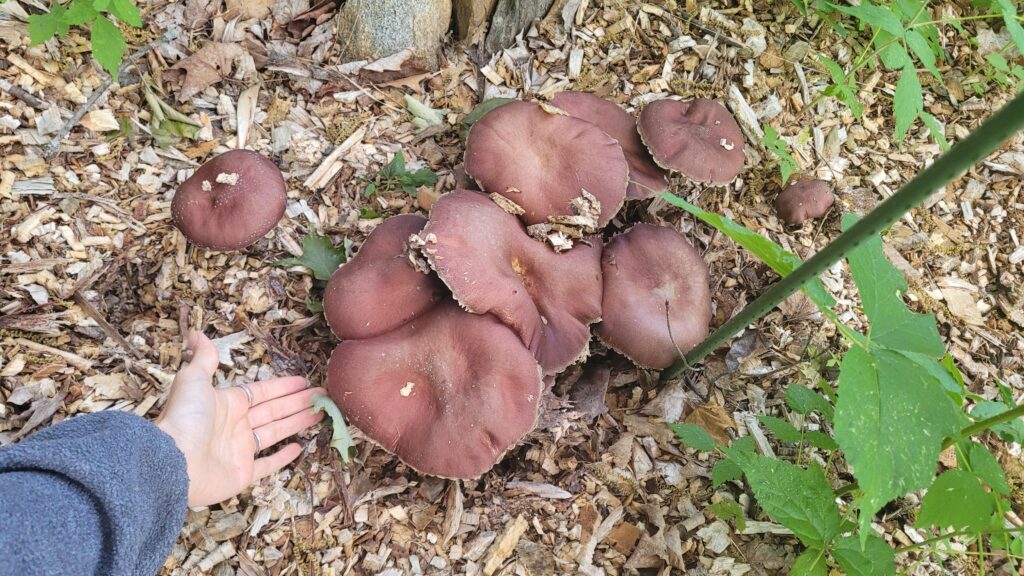
Anyone with space should grow mushrooms outdoors as it saves time and money on production while benefiting the soil and surrounding plants.
Outdoor cultivation is the most practical and sustainable option. Since mushrooms are contributors to the environment when grown with renewable and organic materials—they cost the least!
See: Grow a Mushroom Garden at Home in 4 Steps
How much does it cost to grow mushroom beds outdoors?
Outdoor mushroom cultivation is quite cheap when compared to indoors. A well-chosen place outside is already an adequate environment, therefore all you need to buy is a substrate and spawn.
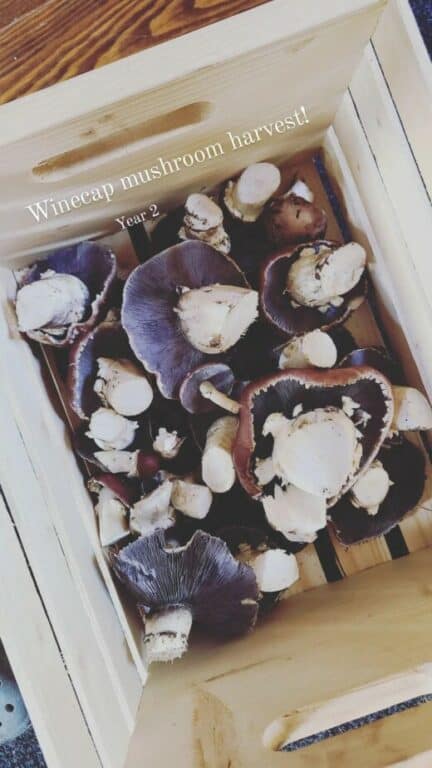
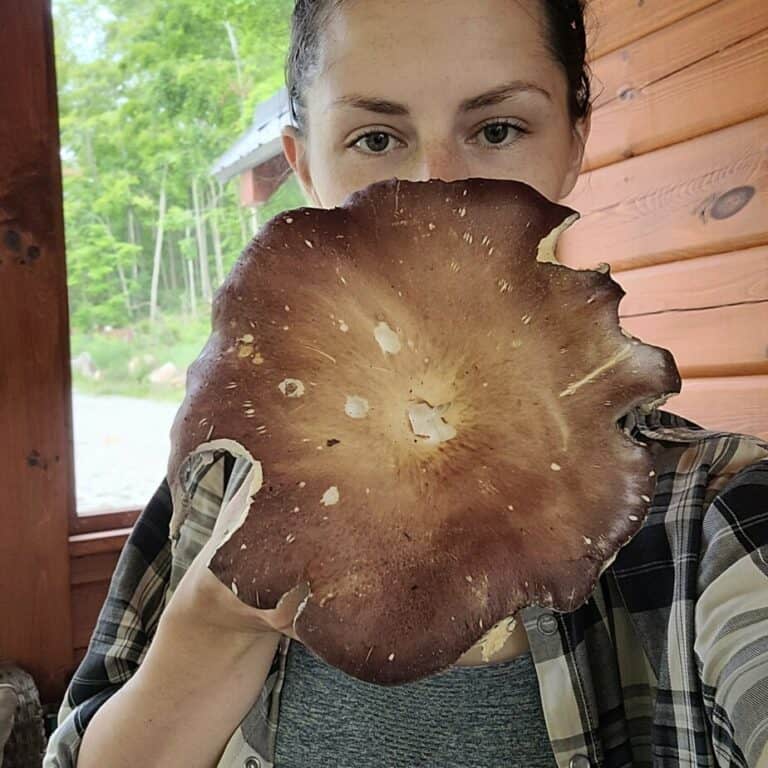
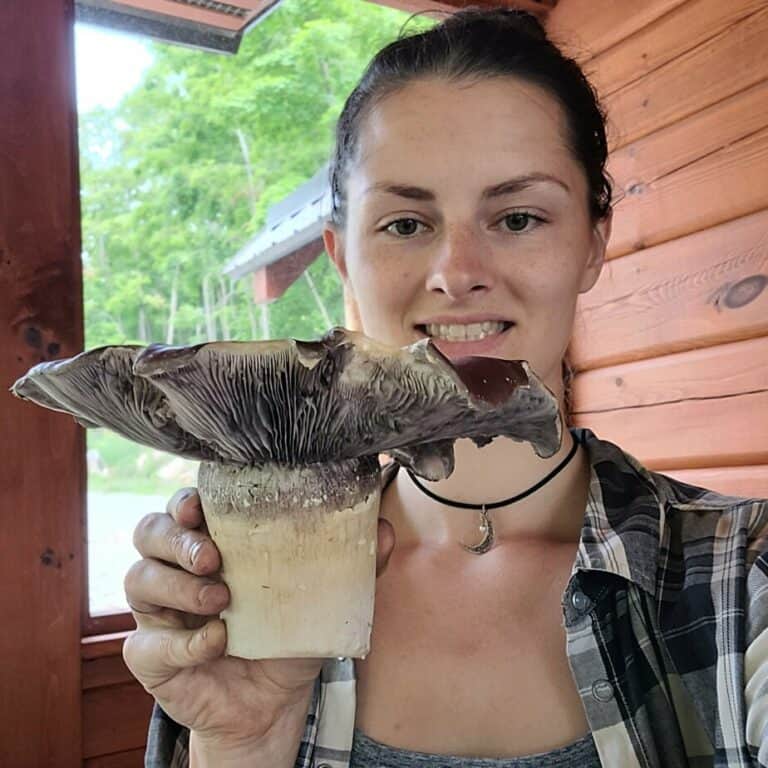
It costs $50 or less to start a mushroom bed outdoors. Spawn and substrate are all you need. Purchase both fresh from producers or source them for free. From a cost perspective, we’ve eaten hundreds of meals worth of mushrooms from our 3 mushroom beds, and they are still producing seasonally.
Spawn bags range from $20-$40. You may need more than one if you have bigger mushroom bed ambitions.
Cheaper is not better. Quality spawn is always worth the price and the results speak for themselves!
Straw and woodchips can be found for free, produced with your own land, or purchased for around $20 or so.
If you already grow mushrooms indoors; spawn can be sourced for free by using spent material from mushroom bins or bags.
Spawn for our mushroom beds cost us $40 to make 3 beds of 4×4 feet. Several years later they are still producing. We’ve had hundreds of meals worth of mushrooms from them. We top them up every year with fresh chips that we make ourselves from our own woodland. The ongoing cost is fuel to run the chipper.
Once you have established mushroom beds they will keep producing as long as they are maintained.
How much does it cost to grow mushroom logs?
After investing in the necessary tools, mushroom logs are the cheapest way for us to grow mushrooms since we live in woodland. If you don’t have your own source of fresh logs; it will cost you more than plug spawn and tools.
It costs $200 or less for a buy-once set of tools, fresh logs, and spawn for making mushroom logs. To make mushroom logs another time it would cost $80 or less for fresh logs and plug spawn. The more you want to make the more plug spawn you’ll need to buy or make.
Mushroom logs last several years and produce a couple of pounds of mushrooms multiple times per season.
We spent $80 on plug spawn to make ~64 mushroom logs which produce plenty of mushrooms.
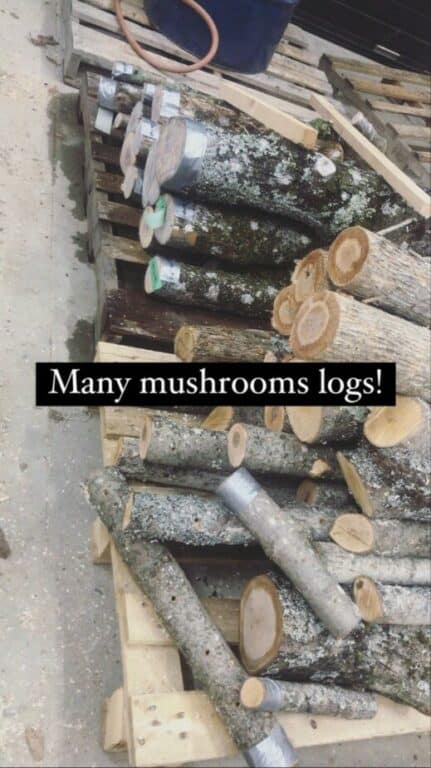

It doesn’t require the ongoing cost of fuel (like the wood chipper does) to cut small trees on a woodland property for making mushroom beds. But you do need a powered drill to make holes in the logs for inserting the plugs.
Growing mushrooms outdoors has the advantage of low upfront cost and very low maintenance. Unlike indoor cultivation, outdoor ways require no cleaning or sterilizing.
The disadvantage of growing mushrooms outdoors is you’ll only get harvests on a seasonal basis. However, if you cook and freeze batches of surplus, you can easily enjoy outdoor-grown mushrooms year-round. Abundance can also be dehydrated and rehydrated when cooking.
Related: Complete Guide to Using Mushroom Plugs for Big Harvests
11 Strategies to reduce the cost of growing mushrooms
Growing mushrooms will always cost the most for beginners! You don’t know what you don’t know—yet!
Over time, all mushroom growers refine their processes and find ways to reduce costs without affecting quality.
Numerous mushroom growers have shared what they do to reduce their costs and we share our tips in the mix too!
- Cleaning is key to reducing contamination occurrences indoors
- Fresh and healthy material is key to success when growing mushrooms outdoors
- Find and save free substrate materials when possible, or produce it
- Figure out, document, and establish throughput to streamline your process
- Throughput is defined as “the amount of material or items passing through a system or process.” – Oxford Dictionary
- Grain to grain is a fast and easy way to make more spawn out of less liquid culture and time.
- Making spawn from liquid culture can take weeks, but when expanding grain to more grain, you’ll have more spawn in days
- Incubate grain at 80F (26C)
- Use 1 quart of grain spawn for every 5lb block of substrate
- It should be ready to fruit in 7-10 days
- Pasteurizing is better than sterilizing for easy mushroom species that colonize fast
- Concentrate on growing the easiest, tastiest mushrooms
- Figure out, document, and establish throughput to streamline your process
- Throughput is defined as “the amount of material or items passing through a system or process.” – Oxford Dictionary
- For those up to experiment, start managing your liquid culture by expanding it with agar. One drop of liquid culture can potentially create hundreds of pounds of mushrooms with agar! But only if done without contamination.
- Mushroom grower, Tyler, says his quality-sourced liquid cultures have lasted for a couple of years now.
Conclusion
With good planning, a higher upfront cost usually means it’ll be cheaper to grow mushrooms long-term.
If you’re not sure which mushroom to grow long-term, start small by tasting mushrooms and deciding which ones to focus on growing before you think about expanding.
Either way, you’ll eventually reduce costs as you learn. Every beginner goes through this process!
- Start small with either (1) taste-testing with fruiting blocks, or (2) growing from spawn bags.
- If you’re ready to go all-in and know what you want to grow, and how you’d like to grow it; shop for supplies here to start growing mushrooms.
Otherwise, learn more: 6 Ways to Grow Mushrooms at Home (Compared)
Recent Posts
There’s no shortage of full-sun ground covers for zone 4 climates! Each plant in this list can withstand the frigid temperatures and also enjoy the hot sun in summer. Full sun means that a plant...
There's no shortage of full sun ground covers, not even in zone 3! Zone 3 climates offer hot but short-lived summers and very cold winters. So each plant in this list can withstand the frigid...